How to Use Urban Parks as “Hubs” for Longer Routes (Without Losing Continuity)
Turn urban parks into reliable connectors for longer bike, run, and walk routes using a clear mainline, consistent wayfinding, and clean handoffs at entrances and crossings.
- What “continuity” really means (and where parks break it)
- Step 1: Pick the right park to hustle (or right corner of it)
- Step 2: Define a single “mainline” through the park (so the big route doesn’t dissolve into loops)
- Step 3: Make continuity visible with “wayfinding” (signs, markings, naming)
- Step 4: Engineer the “handoffs” at entrances and crossings (continuity won or lost)
- Step 5: Build longer routes from the hub (three reliable patterns)
- Step 6: Publish a simple “Park Hub Route Card” (for humans and apps)
- Step 7: Maintain continuity like infrastructure (because it is)
- Frequently Asked Questions (FAQ)
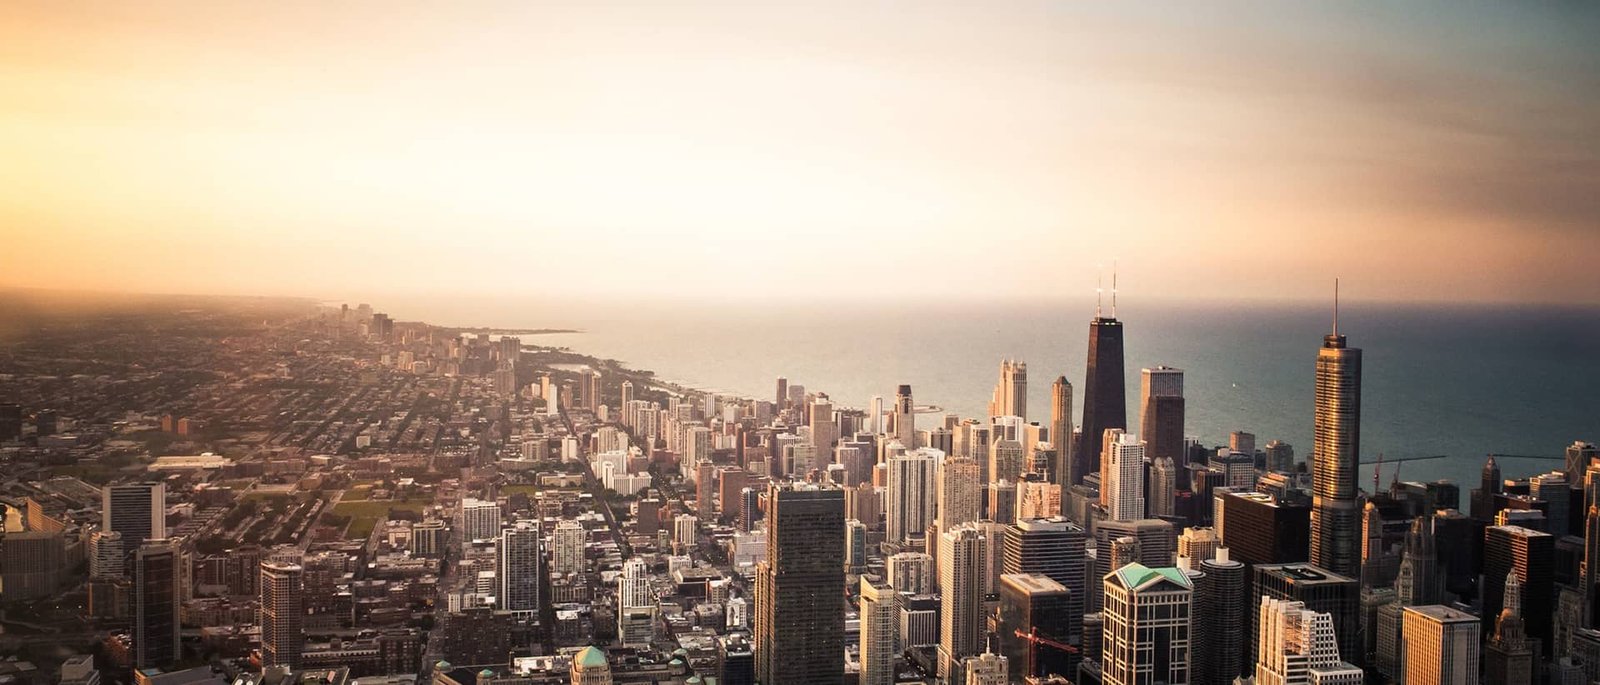
Urban parks are great places to relax, refill your water and miles, or concentrate on quieter miles. But they can also be where longer routes break apart. A route that feels obvious on the street can turn into a puzzle once it hits a park with looping paths, numerous entries, events that block paths and vary quickly, and signs that vary from one side to the other.
The solution is to treat the park like a real network “hub”: a clearly defined through-route (your mainline on which your through-traffic should ride, as distinct from the more variable local spurs) plus clearly marked spokes that radiate towards amenities and other nearby corridors. This article discusses how to set many of them up for both biking and running/walking, and how to keep them functioning well over time.
What “continuity” really means (and where parks break it)
Route continuity has two layers. Most people tend to only think about the navigation side of it, but parks can also break continuity physically.
- Physical continuity: The route stays clearly safe to ride/walk (surface quality, width, crossings, lighting, ramps, no surprise stairs, no dead-ends).
- Informational continuity: The route stays obviously in the right place (you can tell where to go, and you can tell you’re still on the same route).
- Operational continuity: The route stays open/walkable/ridable (hours, gates, seasonal closures, event, maintenance detour).
Parks tend to break continuity at exactly the same spots: entrances, internal junctions, and road crossings. Fix those three, and “I got lost in the park” problems dissipate.
Step 1: Pick the right park to hustle (or right corner of it)
The right hustle park is not just some nice destination—it’s a hub, an undeniable meeting place that really does make longer routes simpler. Do not commit to a park as a hustle without carefully auditing the ground first (at least out and back once in a weekend).
| Criterion | What says “good?” | How do I audit (fast?) |
|---|---|---|
| Connectivity | Minimum 2–4 obvious connects to streets, trails, schools, business districts, transit. | Look for entrances that people are already coming from (desire lines) and look for trail spur leading out of the park. |
| Legibility | A person can cross the park without making a choice every 200 feet. | Count decision points: if you’re choosing left/right repeatedly, you’re going to need stronger wayfinding or a clearer mainline. |
| Safe handoffs | Crossings at park edges are visible, slow, and comfortable. | Stand at each crossing: can a kid or first-timer tell where to cross and where the path continues? |
| All-user usability | Surfaces, grades, and widths work for all, whether bikes, strollers, wheelchairs. | Note pinch points, blind corners, steep ramps, and conflicts at bridges/underpasses. |
| Amenities & reset points | Restrooms (or foolproof alternatives), water, lighting, benches, shade, and a simple place to meet-up. | Choose at least one “reset point” where groups can meet to regroup, without blocking the path. |
| Operational reliability | Open hours are predictable; surprise closures are limited. | Check hours, gates, find any signs of the event schedule; ask park staff what routine closures are enforced. |
Step 2: Define a single “mainline” through the park (so the big route doesn’t dissolve into loops)
The trick to avoiding most mistakes in continuity is to state the obvious: every park path is not equal. To make good long routes workable, you’re going to need a pecking order.
- Mainline (spine): default through route. It should be the most straightshot, open, unambiguous line through the park.
- Secondary connectors: short lines from the mainline to doors, crossings, and nearby streets.
- Amenity spurs: optional detours to toilets, playgrounds, views, cafés, etc. Never mistake them for the line of continuing travel!
- Draw the park as a graph: doors/crossings are “ports,” junctions are named “switches,” paths are “links.” Choose from two to four primary ports (the doors that connect to your larger routes).
- Pick the most obvious line that connects those ports, with the fewest decisions and safest crossings.
- Make that your mainline—even if other loops are lovelier. Beauty can be a signed spur; continuity can’t.
- If your mainline must zig zag, develop it as a series of clear tape-named legs, e.g. “North Gate → Lake Bridge → South Gate.”
A rule of thumb: fewer choices trumps shorter distance. If an “it’s shorter” line makes people choose from among three lines that look alike, its benefit is valueless in practice. The best mainline tries to be the line that a first-time user can follow at moving speed without stopping to choose.
Step 3: Make continuity visible with “wayfinding” (signs, markings, naming)
Wayfinding isn’t decoration. It’s the system that tells people “you’re still on this route.” NACTO calls bike wayfinding “a combination of signs and/or pavement markings, designed to…support decision making and orientation while traveling across a network, including parks…”
Use the 3-sign pattern at every decision point
- Advance cue: a sign/marking well in advance of the junction, telling users that a turn or split is coming.
- Decision cue: the sign/marking at the junction, with a clear arrow and destination/route name.
- Confirmation cue: a reassurance marker just after the turn or split, to help users avoid backtracking.
Give the route an identity that survives the park
Inside parks, paths get locally applied names (“Lake Loop,” “Meadow Trail”) and don’t follow the same numbering as the city’s bike/walk network. That’s OK—just give it a route identity that follows though each segment end to end.
- Either name or number the corridor (e.g., “River Greenway,” “Crosstown Route 3”).
- Apply the same identity on street segments, park segments, and trail segments, and keep the park’s internal path names as supplemental information instead of the primary navigation cue.
If you’re signing routes in the U.S., respect MUTCD constraints
If your route touches public streets (or, less often, agencies want MUTCD compliance for shared-use paths), design your system with MUTCD requirements in mind. MUTCD Part 9 deals with traffic control for bicycle facilities and has some guidance for bicycle route signing; it emphasizes continuity (bicycle routes should establish a continuous routing) and uniform sign use.
Warning: Don’t go “creative” nonstandard signs that might look official but aren’t. If you need some branding, do it with approved sign types, using consistent graphic standards, and in a way backed by a documented wayfinding plan.
Markings can do heavy lifting inside parks
In parks, vegetation, crowds, curves can hide signs. Supplement with pavement markings where appropriate—especially just after crossings and right after turns to remind users they’re still on-route. NACTO’s guidance on paths and wayfinding recommends using markings to reinforce direction and clarify legibility on shared-use paths.
Step 4: Engineer the “handoffs” at entrances and crossings (continuity won or lost)
Think of each park entrance as an interchange: do users know (1) where the route comes in, (2) what the route is called, and (3) how to hop on the other side? This is of great import wherever the park mainline meets a street crossing or the trail trail→ street.
- At every major entrance, place a “You Are Here” map or route directory at a predictable spot (same design at each port).
- Make the crossing part of the route: our path aligns to the crossing. It should be obvious what we’re supposed to do next.
- Immediately after the crossing, place a confirmation sign/marking within a few seconds travel of it.
- In areas where the route transitions from one facility to another (street → path, path → protected lane, etc.), insert a cue: a sign, some pavement symbol, a distinctively designed new gateway feature to signal the route continues.
Design for bidirectional path reality
Shared use paths that run two way, and are/or are treated with intersections: studying how your jurisdiction handles shared use path crossings AND conflict points on same, and noting sightlines and user expectations when designating your hub is essential if you hub deploys shared use paths.
Step 5: Build longer routes from the hub (three reliable patterns)
Now that you have a destination park hub with a mainline and clean handoffs, you can scale to longer routes based on combining those modules! To keep things feeling continuous, stick to the same “route logic”: users should always know how they got into the hub, and how they’re getting out.
| Pattern | Best for | How to keep it continuous | Common pitfall |
|---|---|---|---|
| Hub-and-spoke (out-and-back spurs) | Training rides/runs, errand trips, flexible distances | Keep the hub mainline unmistakable; label each spoke with a destination and distance/time. | Too many spokes that look like the main route. |
| String of pearls (park-to-park corridor) | Scenic longer rides, family-friendly touring, greenway networks | Use the same corridor identity across each park; repeat confirmation markers after every park entry. | Each park uses different naming/sign styles, so users think the route ended. |
| Loop builder (hub + outer ring) | Weekend loops, events, group rides | Make the hub the start/finish with a clear loop direction (CW/CCW) and a posted detour strategy. | Loop direction flips inside the park because signage isn’t directional or is missing at internal forks. |
EXAMPLE: a 20-35 mile (or 60-90 minute) modular plan
- Start fresh at the hub park trailhead. (reset node)
- Take the mainline through the park to the east port (no detours).
- Connect to a neighborhood greenway or protected lane segment to Park B (secondary hub).
- Return via a riverside path segment back to the original hub.
- Optional: add one spoke to a commercial district for a stop—then return to the hub and continue the main loop.
Step 6: Publish a simple “Park Hub Route Card” (for humans and apps)
Continuity isn’t just what you build—it’s what people can verify. A Route Card makes your park hub usable for first-timers and reduces wrong turns.
- Route name/number (and what it connects).
- A small map showing the mainline, ports (entrances), and key decision points.
- Park hours and gate locations (including seasonal variations).
- Surface types and any known pinch points (bridges, narrow sections, steep ramps).
- Crossing list: every street crossing the mainline uses, in order.
- Detour policy: where temporary detours will be posted and how they’ll be named (e.g., “Route 3 Detour A”).
- Amenity spurs: restrooms/water with short signed spurs (and clear “return to mainline” guidance).
Step 7: Maintain continuity like infrastructure (because it is)
A hub fails when people stop trusting it. A single missing sign after a repaving project, an unposted event closure, or vegetation hiding a junction marker can undo the entire system.
Strategies for continuity
- Inventory wayfinding: every sign and marking, with ID, location, and what it says (NACTO recommends maintaining inventories for wayfinding systems).
- Set inspection cadence (monthly in peak season, quarterly otherwise), focused on checking entrances, crossings, and decision points.
- Bake route protection into work orders: any maintenance project that touches the mainline must replace markings/signs immediately (not “later”).
- Prepare for detours: pre-design a small number of signed detour templates so that staff can deploy consistent temporary guidance during events/closures.
- Update the Route Card any time something changes (hours, gates, construction) and note what date you last updated so that users can help judge reliability.
Continuity killers (and fast fixes)
- Too many internal loops: Designate one as the mainline; demote others to signed recreational loops.
- “Invisible” entrances: Add gateways, map boards, and immediate confirmation signage inside the park.
- Crossings that don’t line up: Realign the approaches where feasible; otherwise add strong advance/decision/confirmation cues.
- The route disappears at plazas or parking lots: Use pavement markings or small confirmation posts across open spaces.
- Different agencies, different sign styles: One shared graphic standard, one route naming system across jurisdictions.
- Seasonal closures that break the network: Provide a default signed bypass on streets that is usable year round.
- Amenity spurs that steal traffic: Make spurs clearly optional and always provide a “Back to Mainline” cue.
Frequently Asked Questions (FAQ)
Do I need signs inside the park if people can use phone navigation?
Yes, if you want the park to work as a true hub. Phones fail (battery, signal, glare), and group rides/runs can’t stop at every junction. Signs/markings provide continuous confirmation and reduce wrong turns—especially at internal forks and immediately after crossings.
How do I decide what destinations to put on wayfinding signs?
Start with your route hierarchy and your audience. NACTO suggests building a destination list and mapping primary/secondary/tertiary destinations (parks can be destinations too). For a hub park, prioritize destinations that help users stay oriented: major trail connections, transit, neighborhood centers, and the next park in a park-to-park corridor.
Can we use custom colors or branding for bike route wayfinding?
Possibly, but be careful. In the U.S., the MUTCD governs many sign applications and emphasizes standard shapes, legends, colors, and uniformity. If your route touches public streets or you want MUTCD compliance, coordinate with the responsible agency and design within MUTCD constraints.
What if the park has different user groups (walkers, runners, bikes, micromobility)?
Treat conflict points as part of continuity. Use clear operating expectations (where allowed), manage speeds at pinch points, and avoid wayfinding that sends faster users into crowded promenades. If there are separated spaces, make the correct space obvious with signs/markings and consistent transitions.
What’s the simplest way to start if we have no budget?
Pick one mainline through the park, mark just the entrances/ports and internal decision points, and publish a basic Route Card. Even minimal, consistent confirmation markers (especially right after turns and crossings) can dramatically improve continuity while you build out a full system over time.